We’ve talked about recording your screen on an iPhone, and also how to do it on an Android phone. What if you want to do this on a Mac? There could be a number of reasons to do this – from recording an error to send to tech support, or to show someone how to do something in an app, or simply showing off the latest ‘kill’ in your favourite game. Whatever the reason, it’s pretty easy to make a recording of your screen on a Mac. All you need to do is run Apple’s own QuickTime – which comes pre-installed on every Mac – and use the screen recording feature that’s already baked in.
The QuickTime recording also gives you a couple of interesting options, such as recording only part of the screen – helpful if you want to make a tutorial that’s uncluttered, for example. It also lets you select audio input sources, if you want to record a voice-over instead of just the on-screen contents. Here’s what you need to know in order to record the screen on your Mac.
How to Record Your iPhone, iPad Screen
How to record the screen on Mac*
- Launch QuickTime Player from your applications.
- Click on File > New Screen Recording
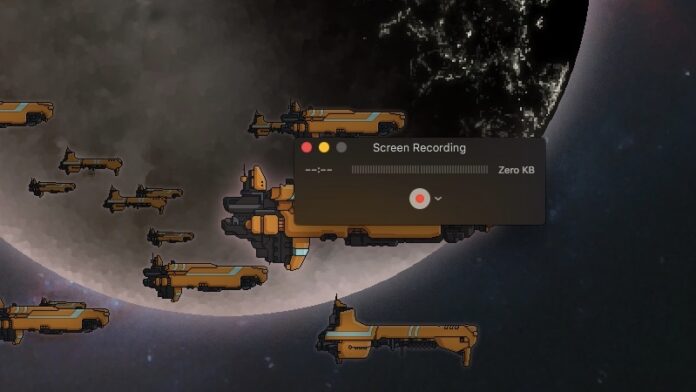
- A small recording control panel pops up, and you can simply click the red Record button to start recording the screen of your Mac.
If you prefer, you can tweak some options before you start recording. Click the small arrow pointing downwards next to the record button. Here you can choose to show mouse clicks in the recording, and which microphone to use for audio. You can choose none if you just want to record the contents of your screen, but if you want to add some spoken instructions, you could choose the internal mic, or an external mic if one is plugged in. - Once you start recording, you’ll see a tip telling you to click to start recording, or drag a window to record only that part of the screen. You can choose whichever suits your needs on that front.
- Click the stop button in the menu bar (the bar at the top of your Mac’s screen) on the recording control panel when you’re done.
Three Free Apps to Record Your Screen on Android
You can then preview the video, and save it. That’s all there is to it, and it works perfectly. We tested it with a couple of games (Binding of Isaac and Starcraft) on a MacBook Air (1.6 GHz i5 with 8GB RAM) and we didn’t notice any performance issues either. The resulting video also looked fine, so this looks like a simple and reliable method anyone can use.
If you need to record the screen of your Mac, give this method a shot, and tell us about your experience via the comments.
For the latest tech news and reviews, follow Gadgets 360 on X, Facebook, WhatsApp, Threads and Google News. For the latest videos on gadgets and tech, subscribe to our YouTube channel. If you want to know everything about top influencers, follow our in-house Who’sThat360 on Instagram and YouTube.


